Welcome to this tutorial where we explain how to issue your non KYC Bridge Bit virtual card.
Please log into your Bridge Bit dashboard and navigate to Virtual Card.
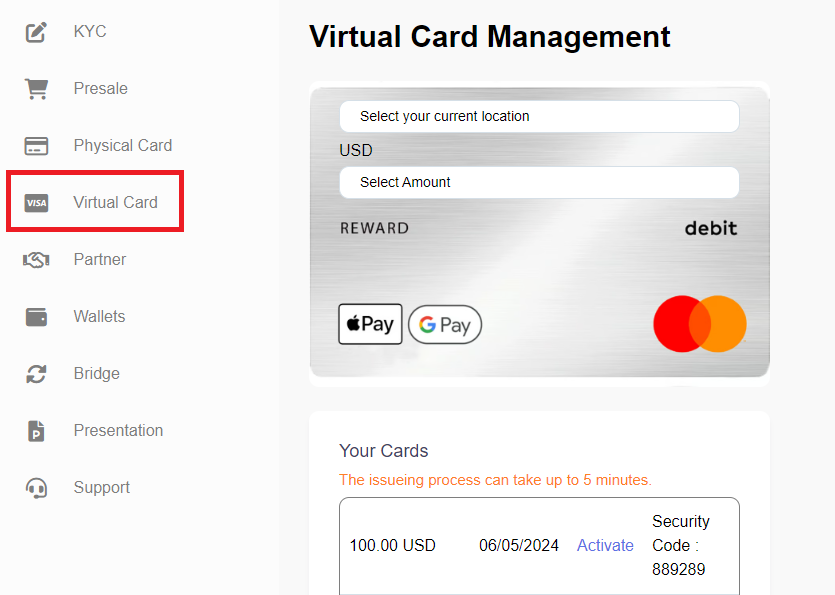
Select your current location.
Tap on SELECT AMOUNT to choose one of the pre-defined amounts of 100/250/500/1000 Euros.

To pay the amount selected you will now have two options:
- Web3 payment using your decentralized wallet
- Manual payment by sending money to the address shown
Web3
Connect your wallet and click ISSUE CARD. Two approvals will be needed in the decentralized wallet.
Manual
Choose the network you want to use, BEP20 or Polygon/MATIC.
If you’re looking for other networks, please click Bridge.
Click ISSUE and the USDT amount will be shown.
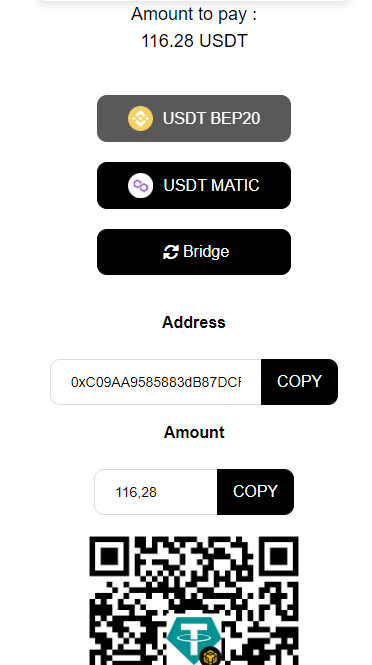
Copy the address or use the QR code to send the funds. Please send the exact amount that will be shown.
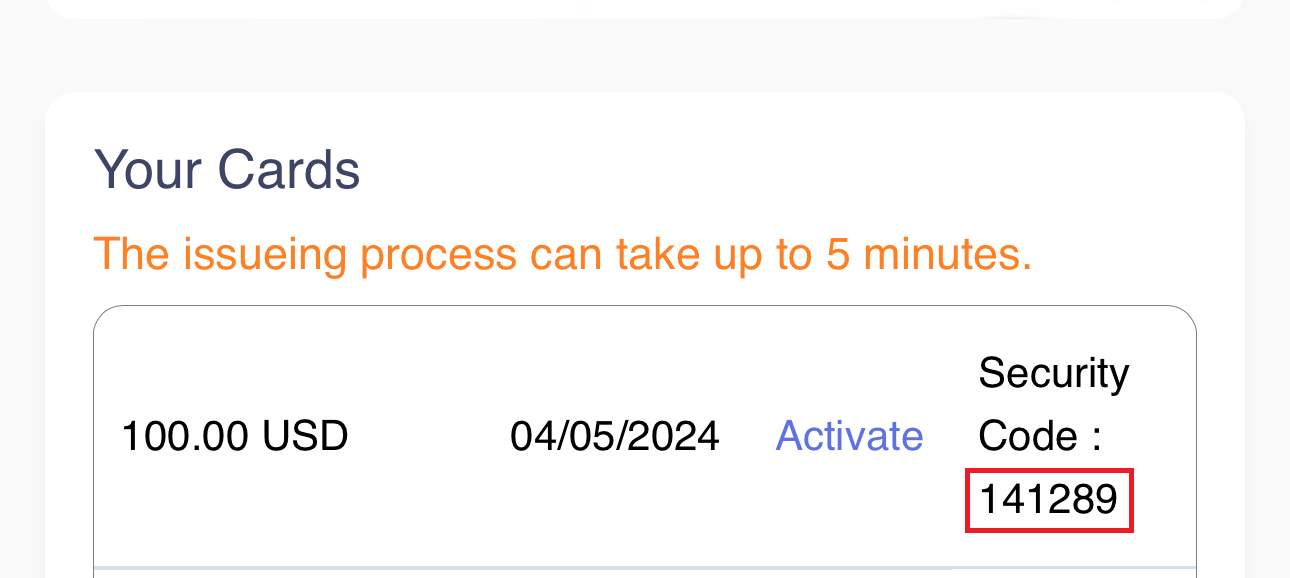
The issuing process can take up to 5 minutes.
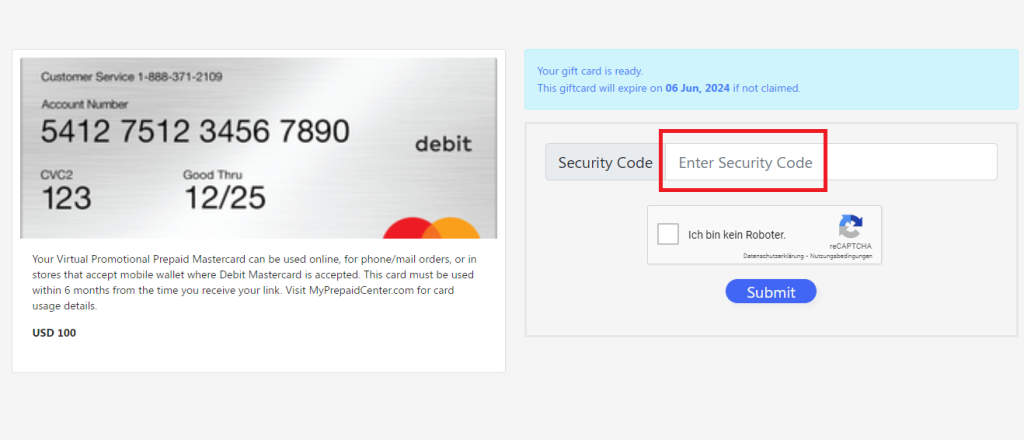
A 6-digit security code will be shown:
Click ACTIVATE:
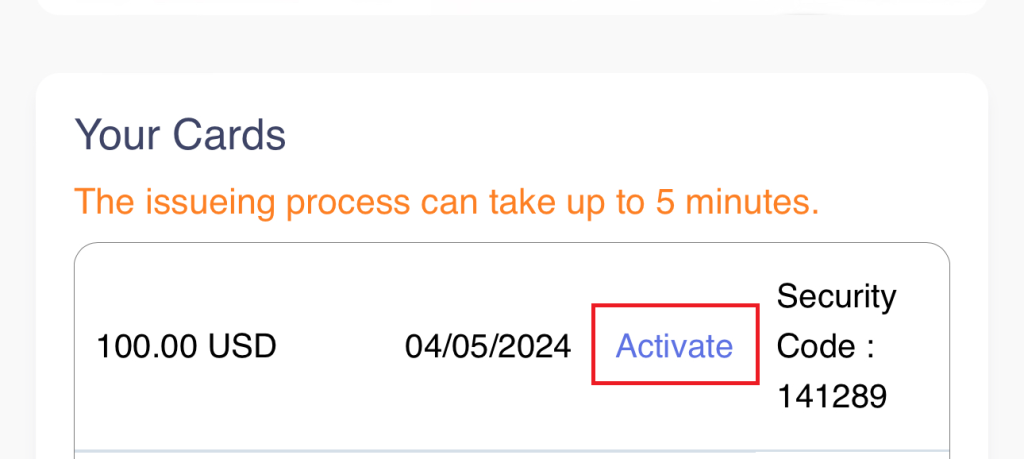
The following screen will pop up and ask you to enter your 6-digit Security Code:
Your unique Gift Card code will be displayed.
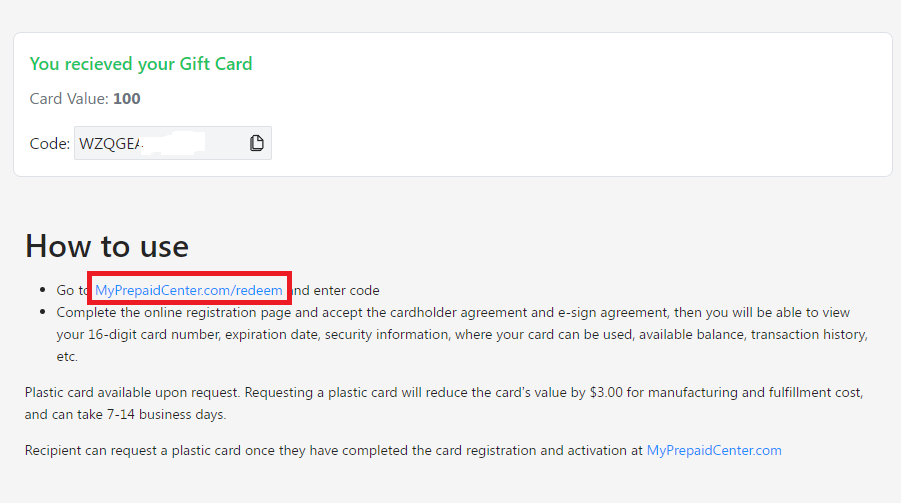
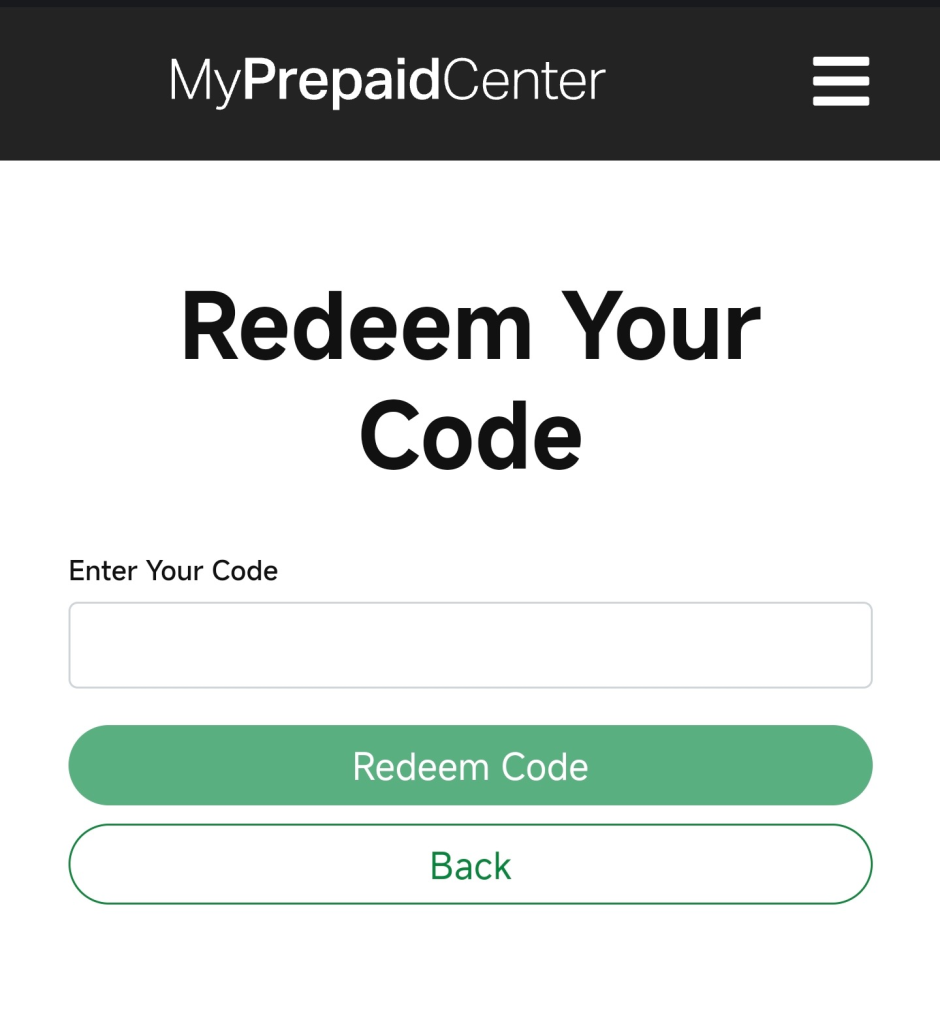
Grab the code and go to http://www.myprepaidcenter.com/redeem.
Enter Your Code and click REDEEM CODE.
Enter your personal data into the form displayed below.
You don’t have to enter your real data!

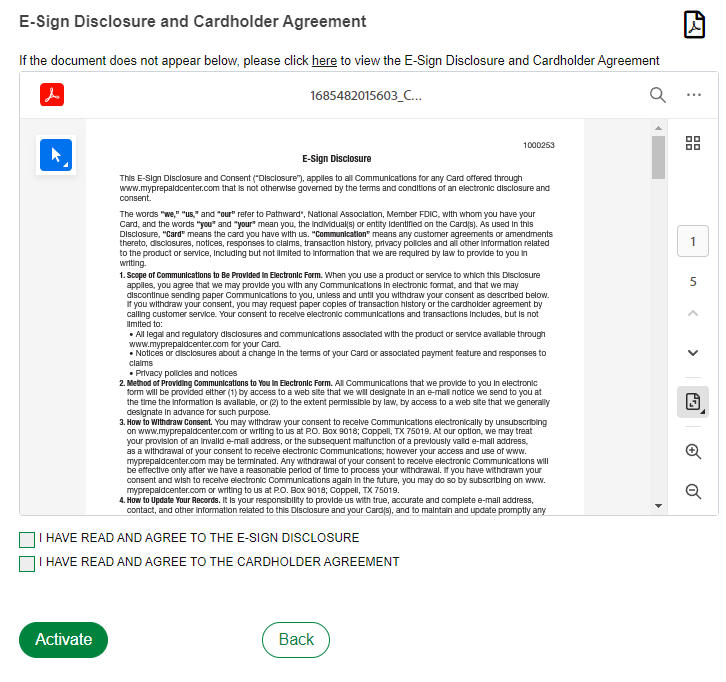
Accept the terms and click ACTIVATE.
Your virtual card is now ready to use:
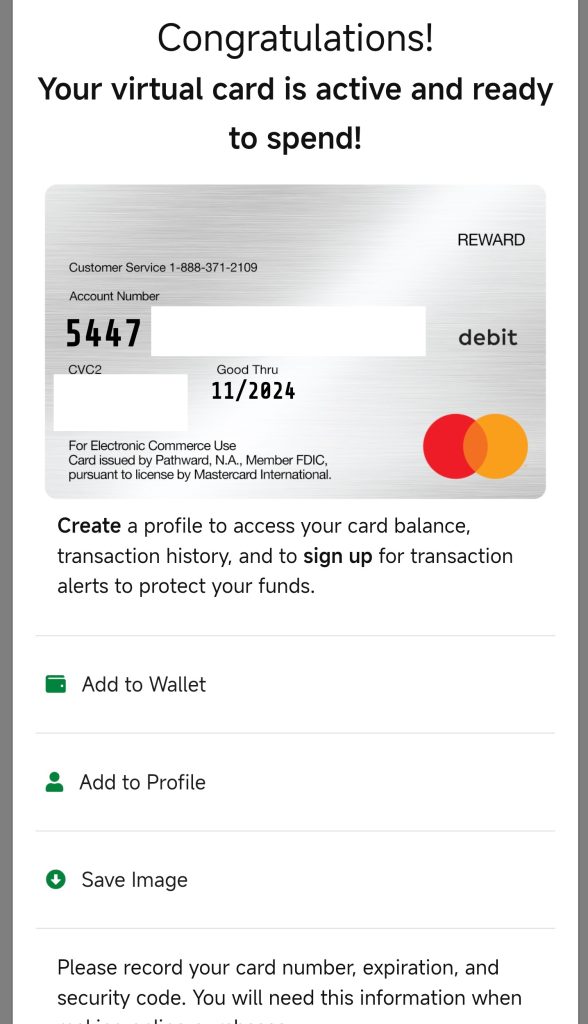
Click “Add to Wallet” to add your card to Apple Pay or Google Pay.
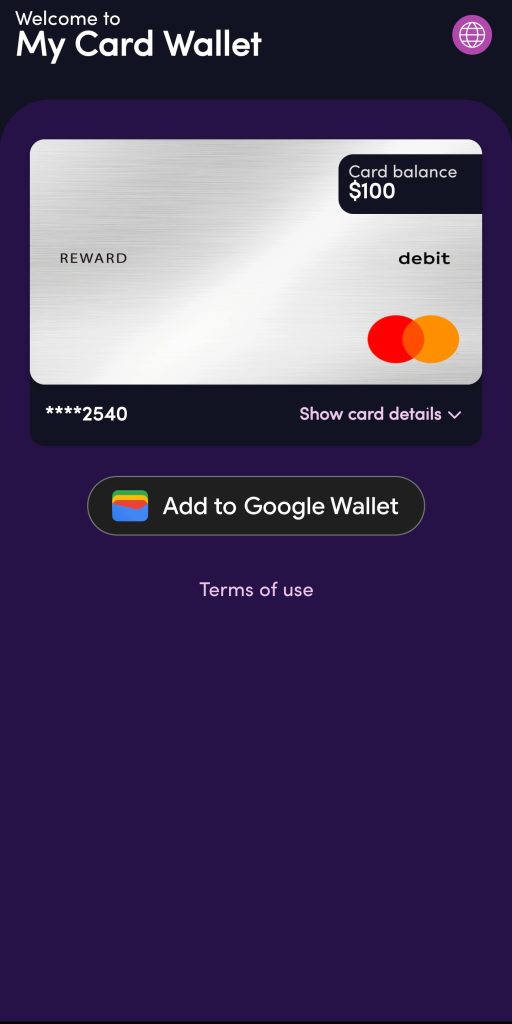
Click “Add to Google Wallet”. Done!
Alternatively you can add your card to Apple Pay / Google Pay manually:
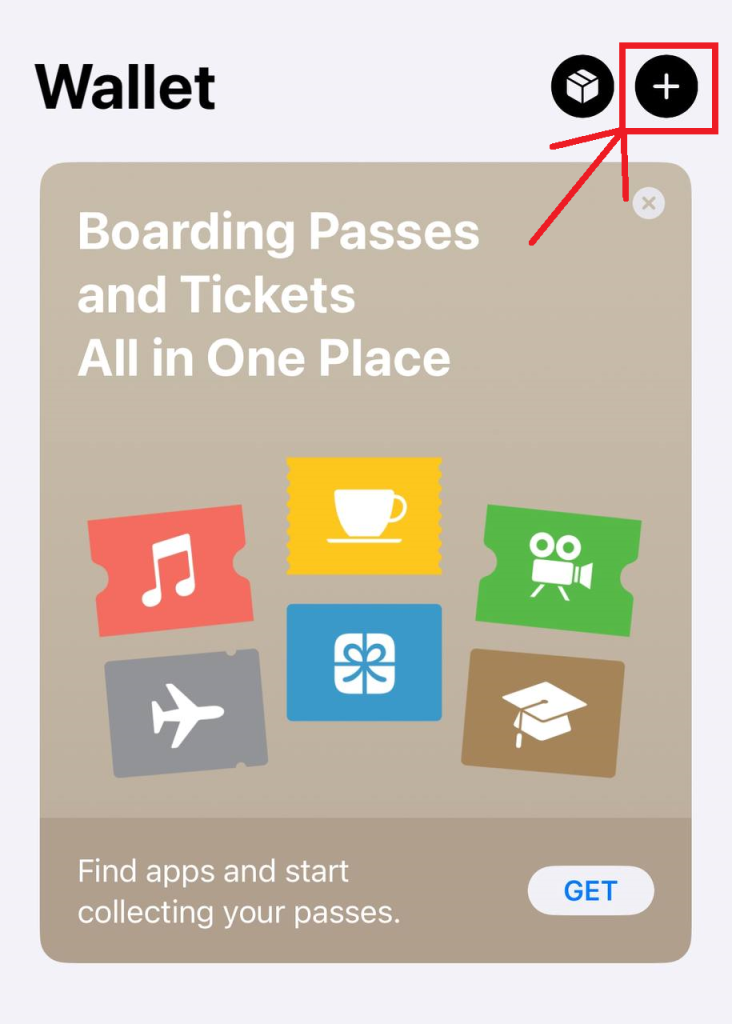
Apple Pay
To add your card to Apple Pay just open the Wallet App and hit the PLUS button in the upper right corner.
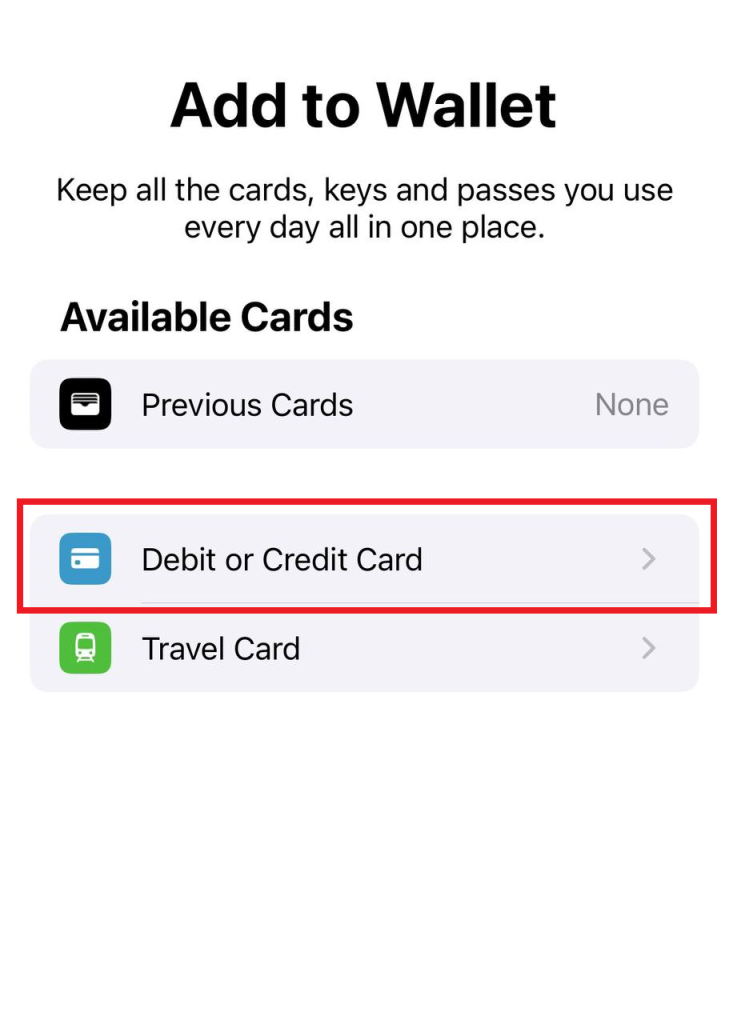
Choose DEBIT OR CREDIT CARD.
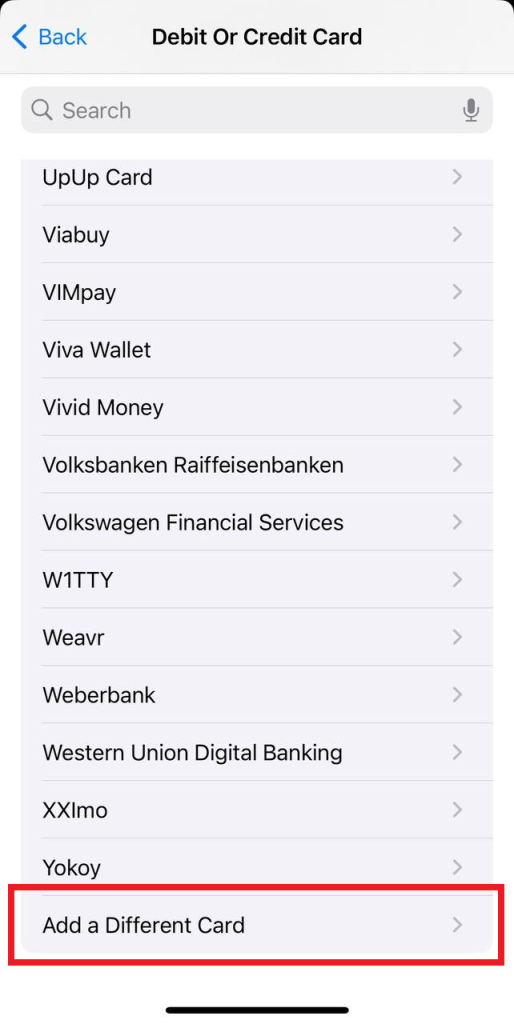
Scroll to the very bottom and click ADD A DIFFERENT CARD.
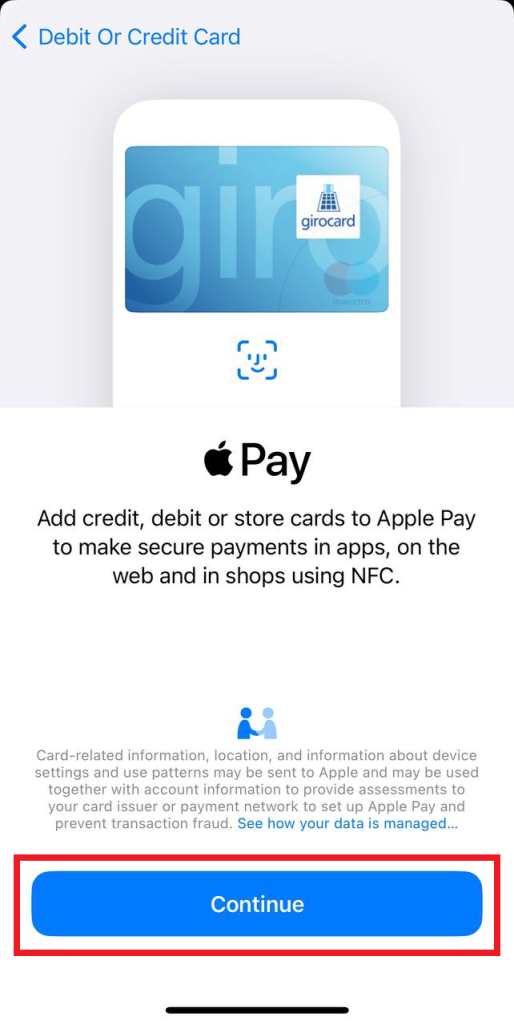
Now press CONTINUE.
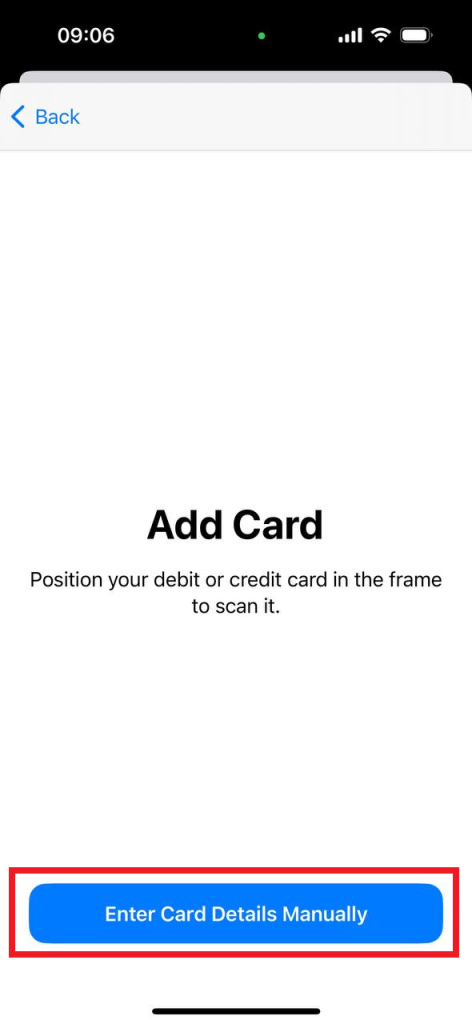
Now press ENTER CARD DETAILS MANUALLY or SCAN YOUR CARD.
Enter your NAME and 16 digit CARD NUMBER
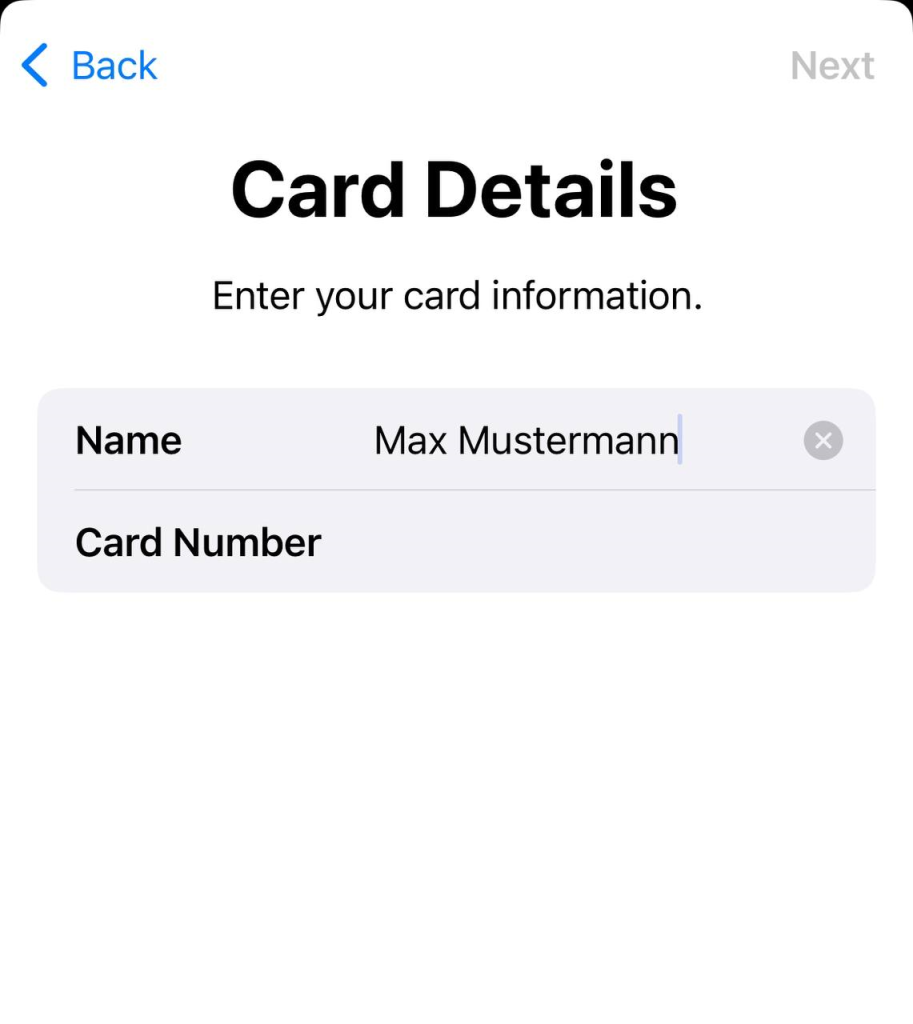
Click NEXT.
Enter EXPIRY DATE and SECURITY CODE.
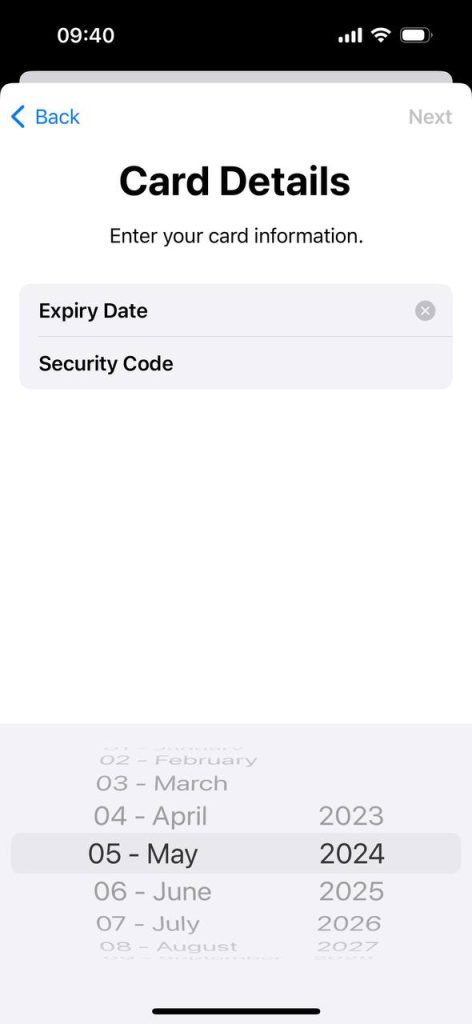
Click NEXT!
Done!
Google Pay
- Open the Google Wallet app .
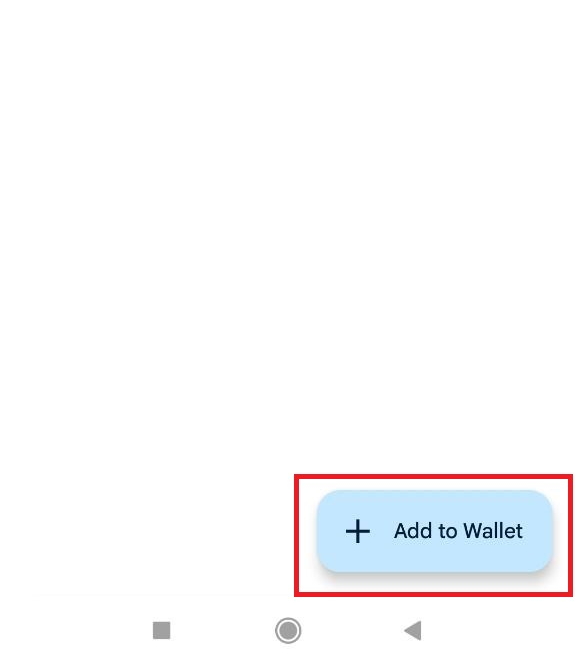
- At the bottom, tap Add to Wallet .
- Tap Payment card. …
- Tap New credit or debit card. …
- At the bottom, tap Save and continue.
- Read the Issuer Terms and tap Accept.
- If you’re asked to verify your payment method, choose an option from the list.
Done!
Follow us on our socials: